Create and Run a Standard microCT Analysis
standard-report.RmdThis is a step-by-step guide to running a standard microCT analysis using microCTr. It assumes you already have your data exported from the scanner into text files.
Create an RStudio Project
The first step is to create a folder that will contain your data and analysis.
First, open RStudio. Then, create a new RStudio project:
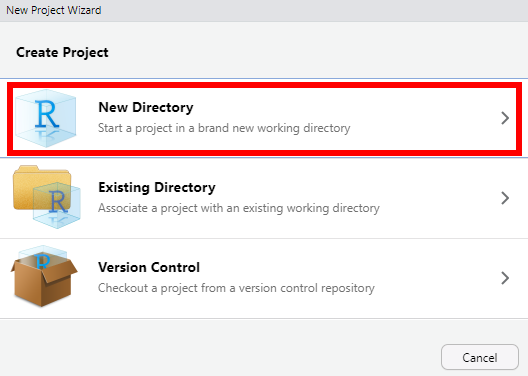
File > New Project...
Select New Directory:
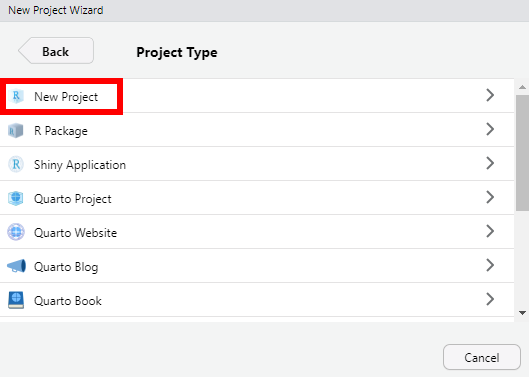
Select New Project:
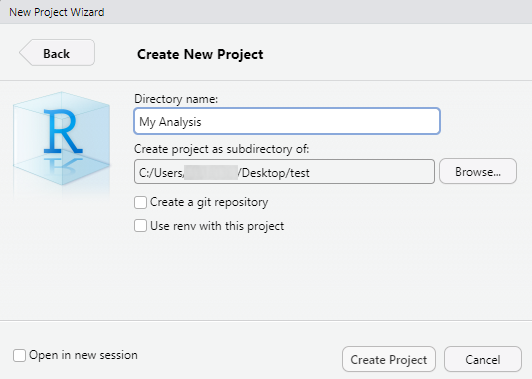
Type the name of the folder you would like to create, and select the
location you would like to create the folder. Then click
Create Project:
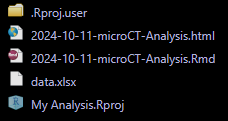
You should now have a new folder which contains a .Rproj
file with the name of the project and a .Rproj.user
folder.
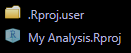
These are safe to ignore, but don’t delete or move them.
Generate Templates for Your Analysis
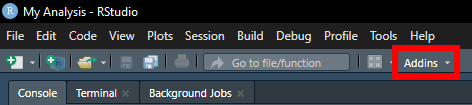
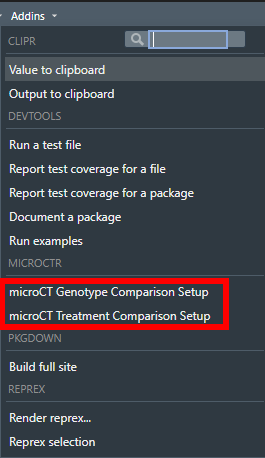
Click the Addins button at the top of RStudio:
Select microCT Genotype Comparison Setup or
microCT Treatment Comparison Setup, depending on which type
of analysis you are going to run.
You should now have two new files in your working folder, a
.Rmd file labeled with today’s date and a
data.xlsx file.

Prepare Your Data
The data.xlsx file is a template Excel file into which
you should paste your data. There are separate sheets for
Trabecular, Twice1, Twice2, and
MFE data. Additionally, there’s a Key
sheet.

The data sheets have green highlighted columns which indicate the
data of interest. Examine these carefully to make sure there are not
characters besides numbers (such as ! or ~),
since this will affect the analysis. If any of these other characters
are present, delete them, leaving only the number.
The data.xlsx file can be renamed whatever you want, but
you will have to update this name in the final report. Don’t worry, I’ll
show you how to do that when we get there.
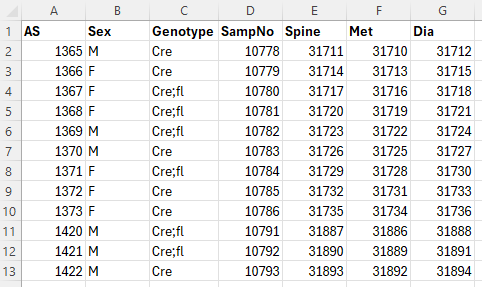
The Key sheet is where you should specify the animal’s
AS number, sex, group (genotype or treatment), sample number, and the
measure numbers for the spine, metaphysis, and diaphysis. For
example:
Prepare the Report
Now that the data are prepared, we’ll turn to generating the final
report. Open the .Rmd file in RStudio. You can do this by
clicking on the file name in the Files pane:

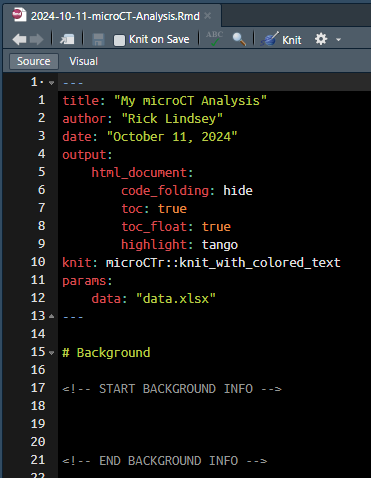
The .Rmd file is just a text file, and it should now be
open for editing within RStudio:
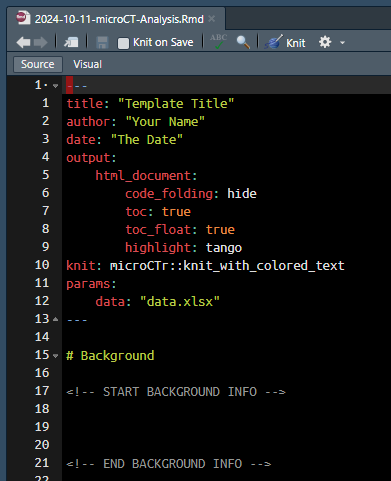
Replace Template Title with the title you’d like to give
the report, Your Name with your name, and
The Date with today’s date. For example:
If you have changed the name of the data.xlsx file,
here’s the place to update that information. Be sure to include the
.xlsx file name extension!
Don’t change any of the other information at the top of the
.Rmd file.
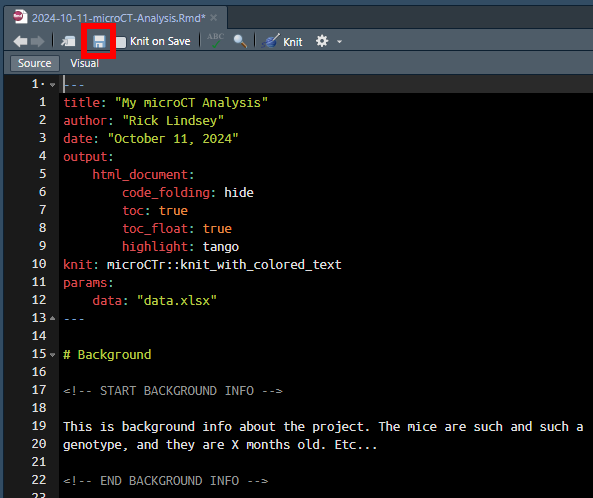
Optionally, you can add background information about the project to
be included in the final report. Type it in the first section, in the
lines between START BACKGROUND INFO and
END BACKGROUND INFO. Don’t change anything else lower down
in the file.
Make sure your file is saved by pressing Ctrl + S or
clicking the Save button:
Now, generate the report by clicking Knit (or by
pressing Ctrl + Shift + K):
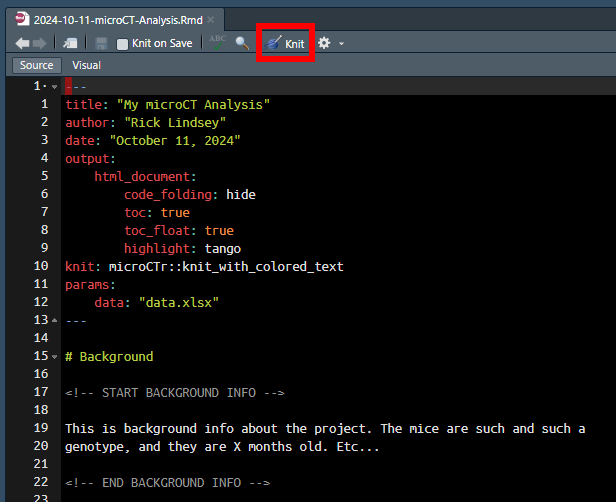
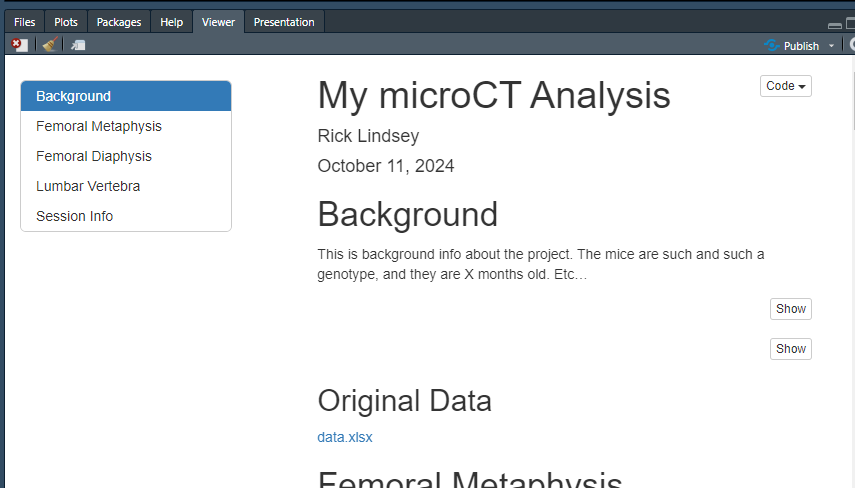
After a few seconds, the final report should appear in the
Viewer pane:
The final report is now in a .html file in your working
folder:
You can do anything you would do with a regular file with this
.html file: save it anywhere you like, attach it to an
email, etc. You can also double click it to open it in your default web
browser for easier viewing.